Wildlife photography in national parks comes with a hard rule that overrides every other piece of advice: keeping a safe distance matters more than getting the shot. Parks post specific distance requirements for a reason, and ignoring them puts both the photographer and the animal at risk, sometimes with consequences that last well beyond a single bad encounter.
Within that boundary, there's still plenty of room to get compelling photos — it just requires different gear and habits than wildlife photography where getting close is an option. Accepting that constraint from the start, rather than treating it as an obstacle to work around, leads to a much safer and more enjoyable experience overall.
A Longer Lens Isn't Optional Here
Unlike landscape photography, where a wide-angle lens does most of the work, wildlife photography at a safe distance requires real focal length — 300mm or more is a reasonable starting point for anything beyond very large animals like elk or bison seen from a roadside. A shorter lens simply can't produce a usable shot from a safe distance.
A lens with image stabilization helps considerably when shooting handheld at long focal lengths, since camera shake becomes much more visible at 300mm and beyond. A monopod is a reasonable middle ground for anyone who finds a full tripod too slow to set up for a moving subject, offering more stability than handholding without sacrificing the ability to react quickly to a shifting scene.
Learn the Specific Distance Rules for the Park
Distance requirements vary by park and by species — bears typically require more distance than deer, for instance — and these rules are published by park services specifically because animals habituated to close human contact become dangerous to themselves and to visitors. Checking current guidelines before a trip, rather than guessing, avoids both safety risks and potential fines, and these distances are generally published clearly on each park's official visitor information well before a trip begins.
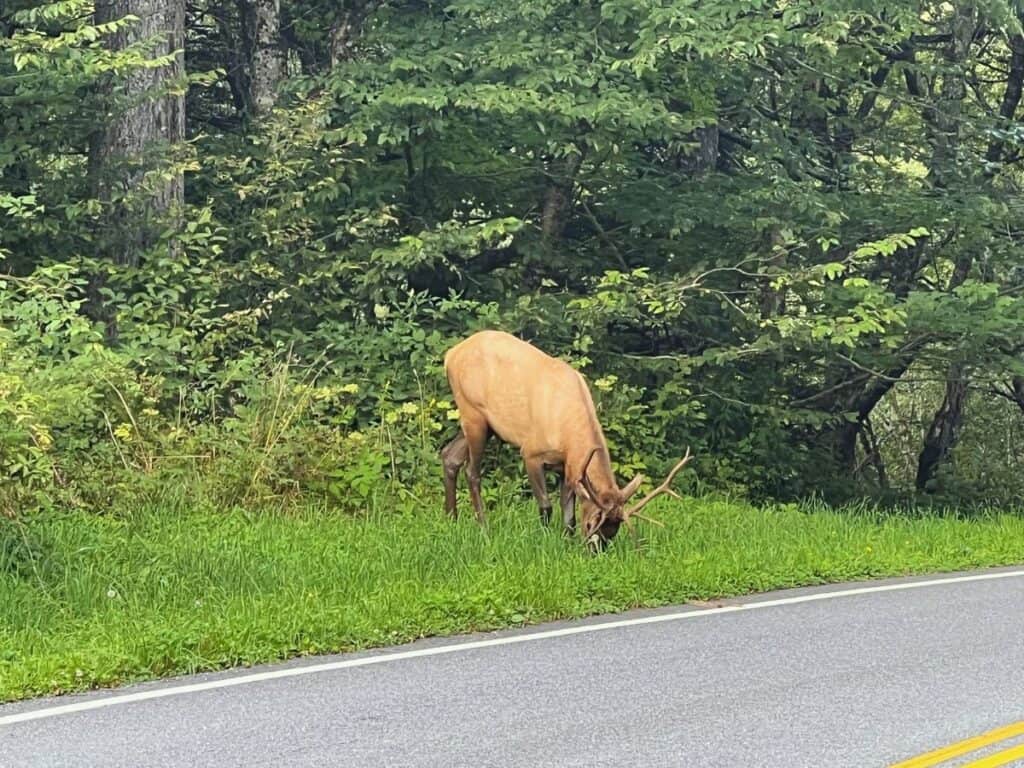
A spotting scope or binoculars, used alongside a camera, lets you actually watch an animal's behavior at a safe distance without needing to get closer just to see what it's doing, which often ends up being more rewarding than the photo itself and doesn't carry the same risk of disturbing the animal's natural behavior in the process. A quieter stop like Nordegg, well off the busiest park roads, is also worth considering for anyone hoping for a calmer, less crowded wildlife-watching experience generally.
Early Morning and Evening Are the Most Active Windows
Many large mammals are most active at dawn and dusk, which also happens to align with the best light for photography generally — a convenient overlap for wildlife photographers. Midday sightings do happen, but they're less predictable and often involve animals resting rather than moving, which makes for a less dynamic photo even when a sighting does occur.
Roadside pull-offs near meadows or water sources tend to produce more sightings than random stretches of highway, since these are the areas animals are naturally drawn to for food and water throughout the day, especially during the cooler, calmer, quieter hours right after sunrise breaks fully over the eastern horizon on each and every single morning of the trip.
Patience Matters More Than Persistence
Following or approaching an animal to get a better angle almost always backfires, either by scaring it off entirely or by crossing into unsafe distance. Staying in one reasonable spot and waiting, sometimes for twenty minutes or more, produces better results and respects the animal's space far more than active pursuit.
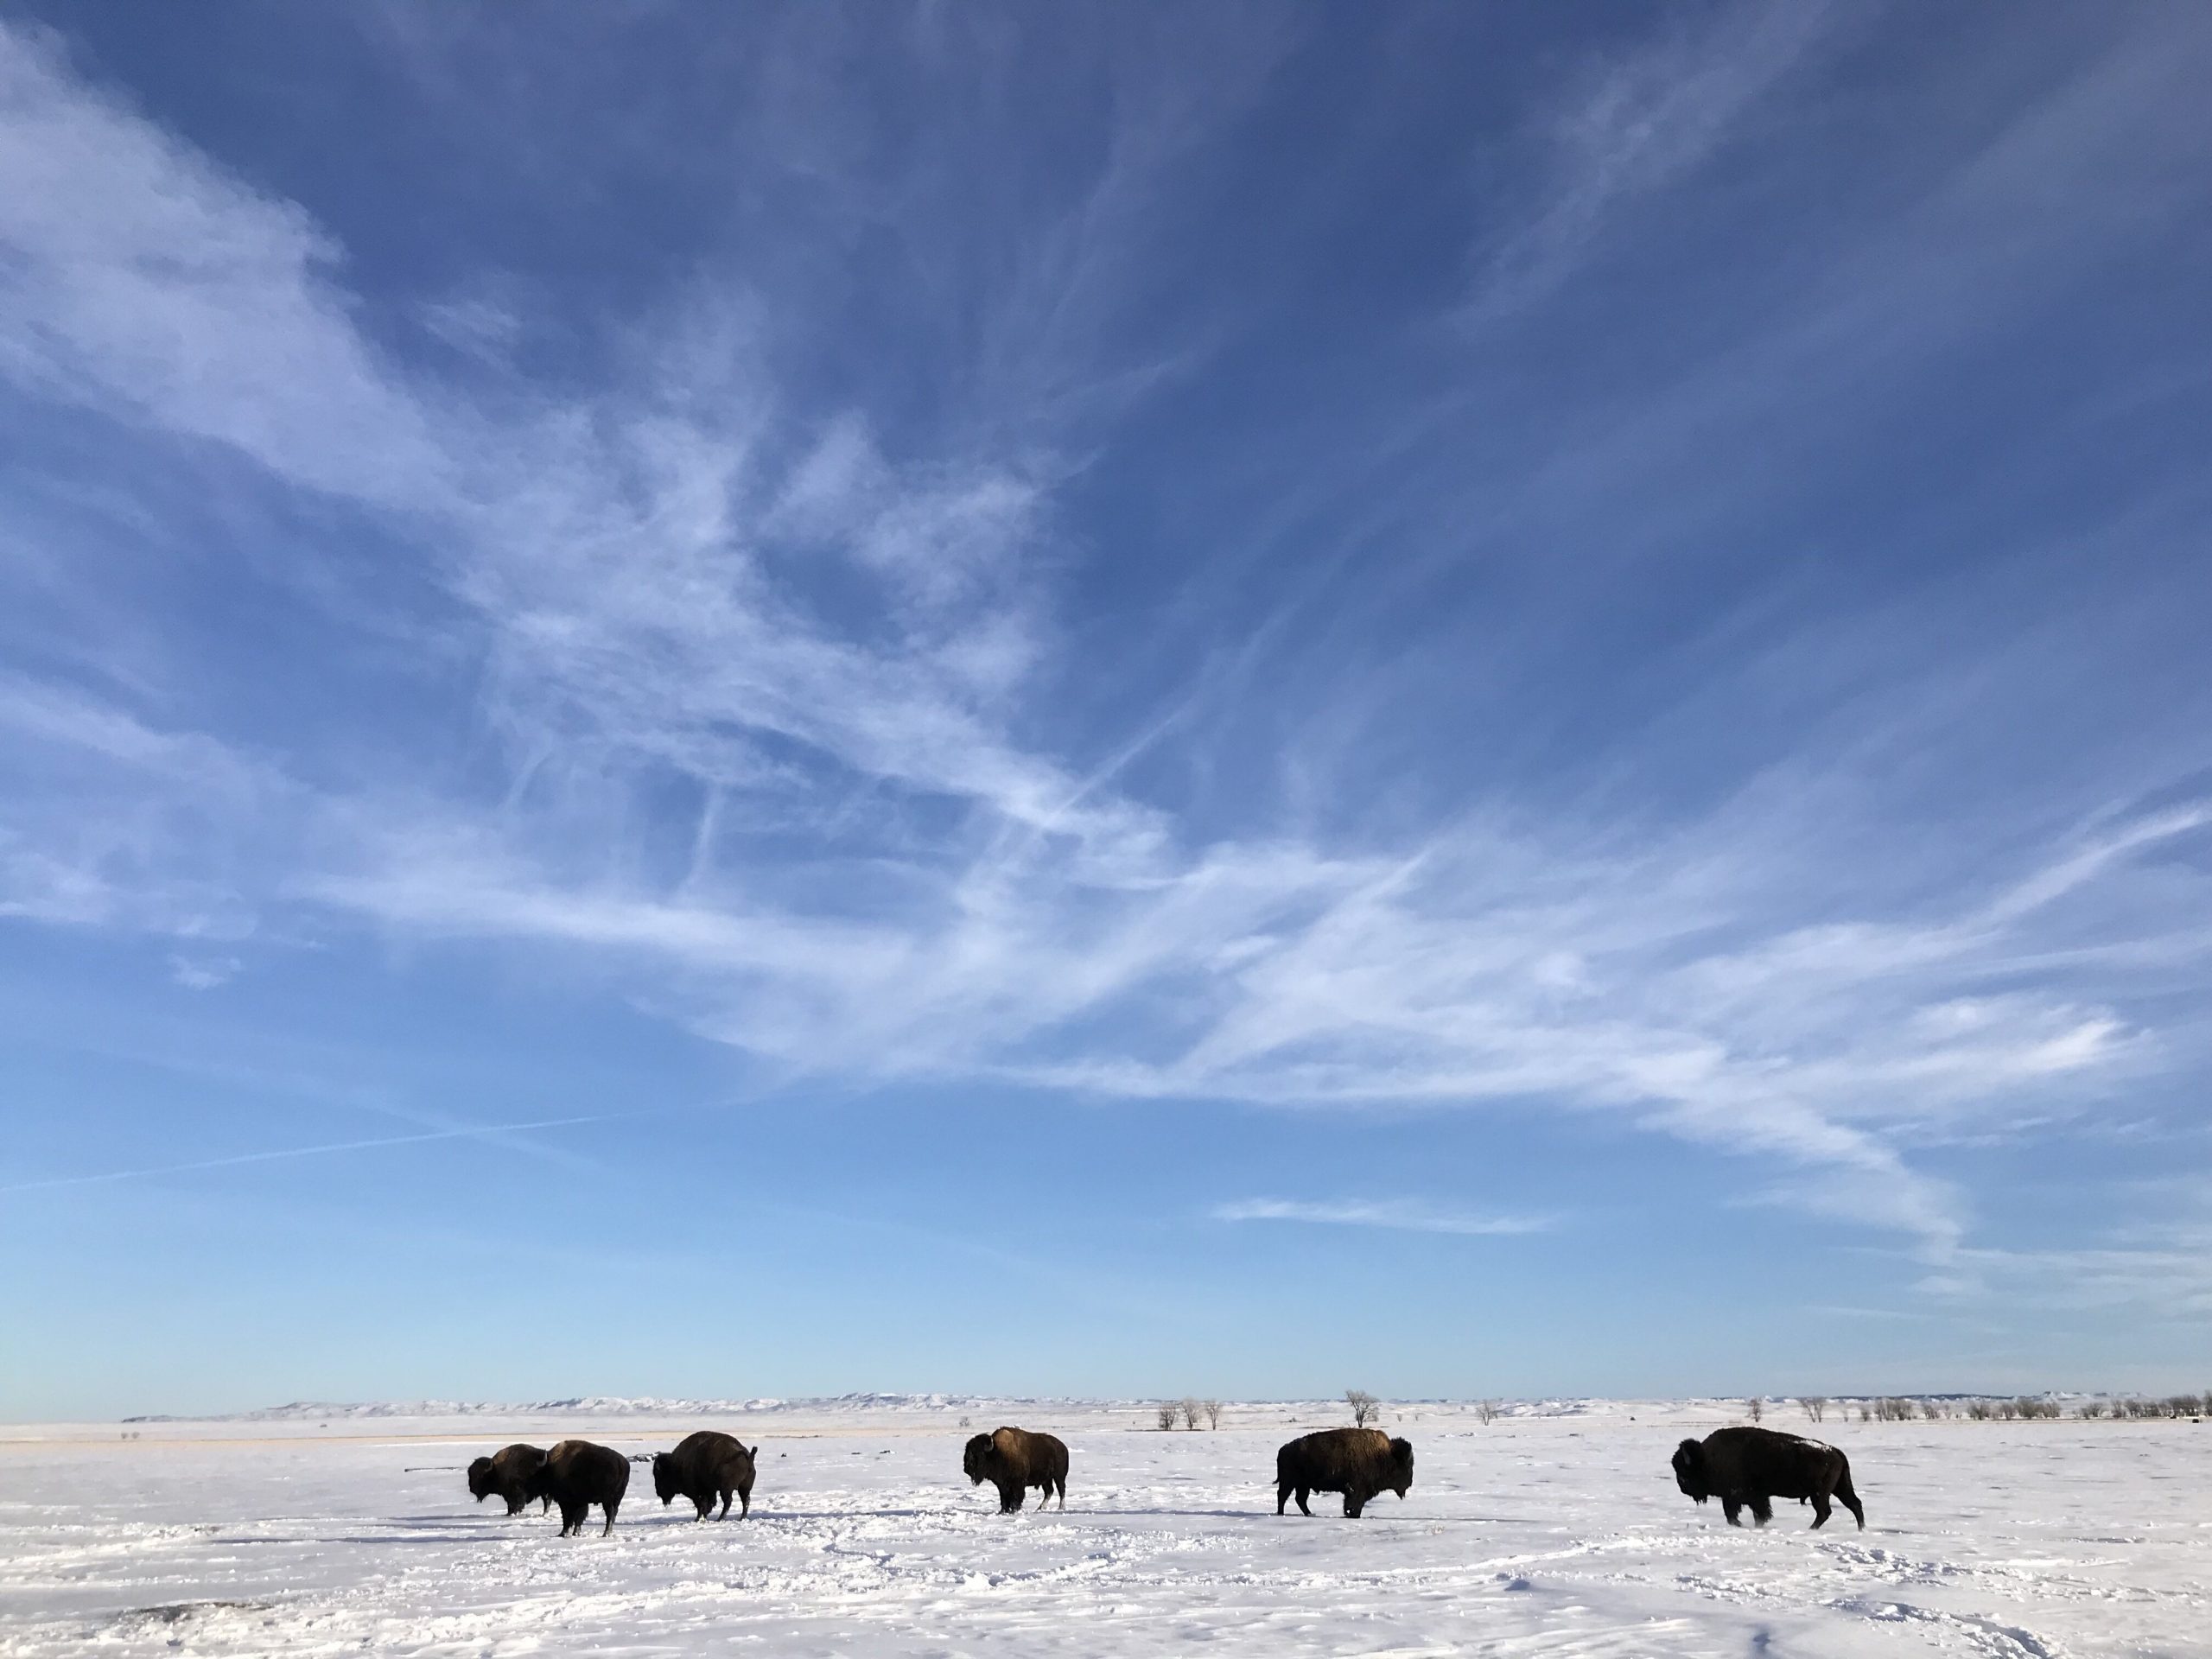
This is also simply more realistic for a road trip schedule than trying to track a moving animal across difficult terrain. The open stretches of the prairies of Alberta make this patience easier in practice, since animals there are often visible from a safe distance for long stretches rather than briefly glimpsed in dense forest.
Not Every Park Visit Is About the Animals
Wildlife sightings are often a bonus rather than the main plan, and a park visit built entirely around finding animals can lead to disappointment on a quiet day. A walk through Arches National Park is a good example of a park where the geology itself carries a visit even without a wildlife sighting, which takes some of the pressure off any single outing.
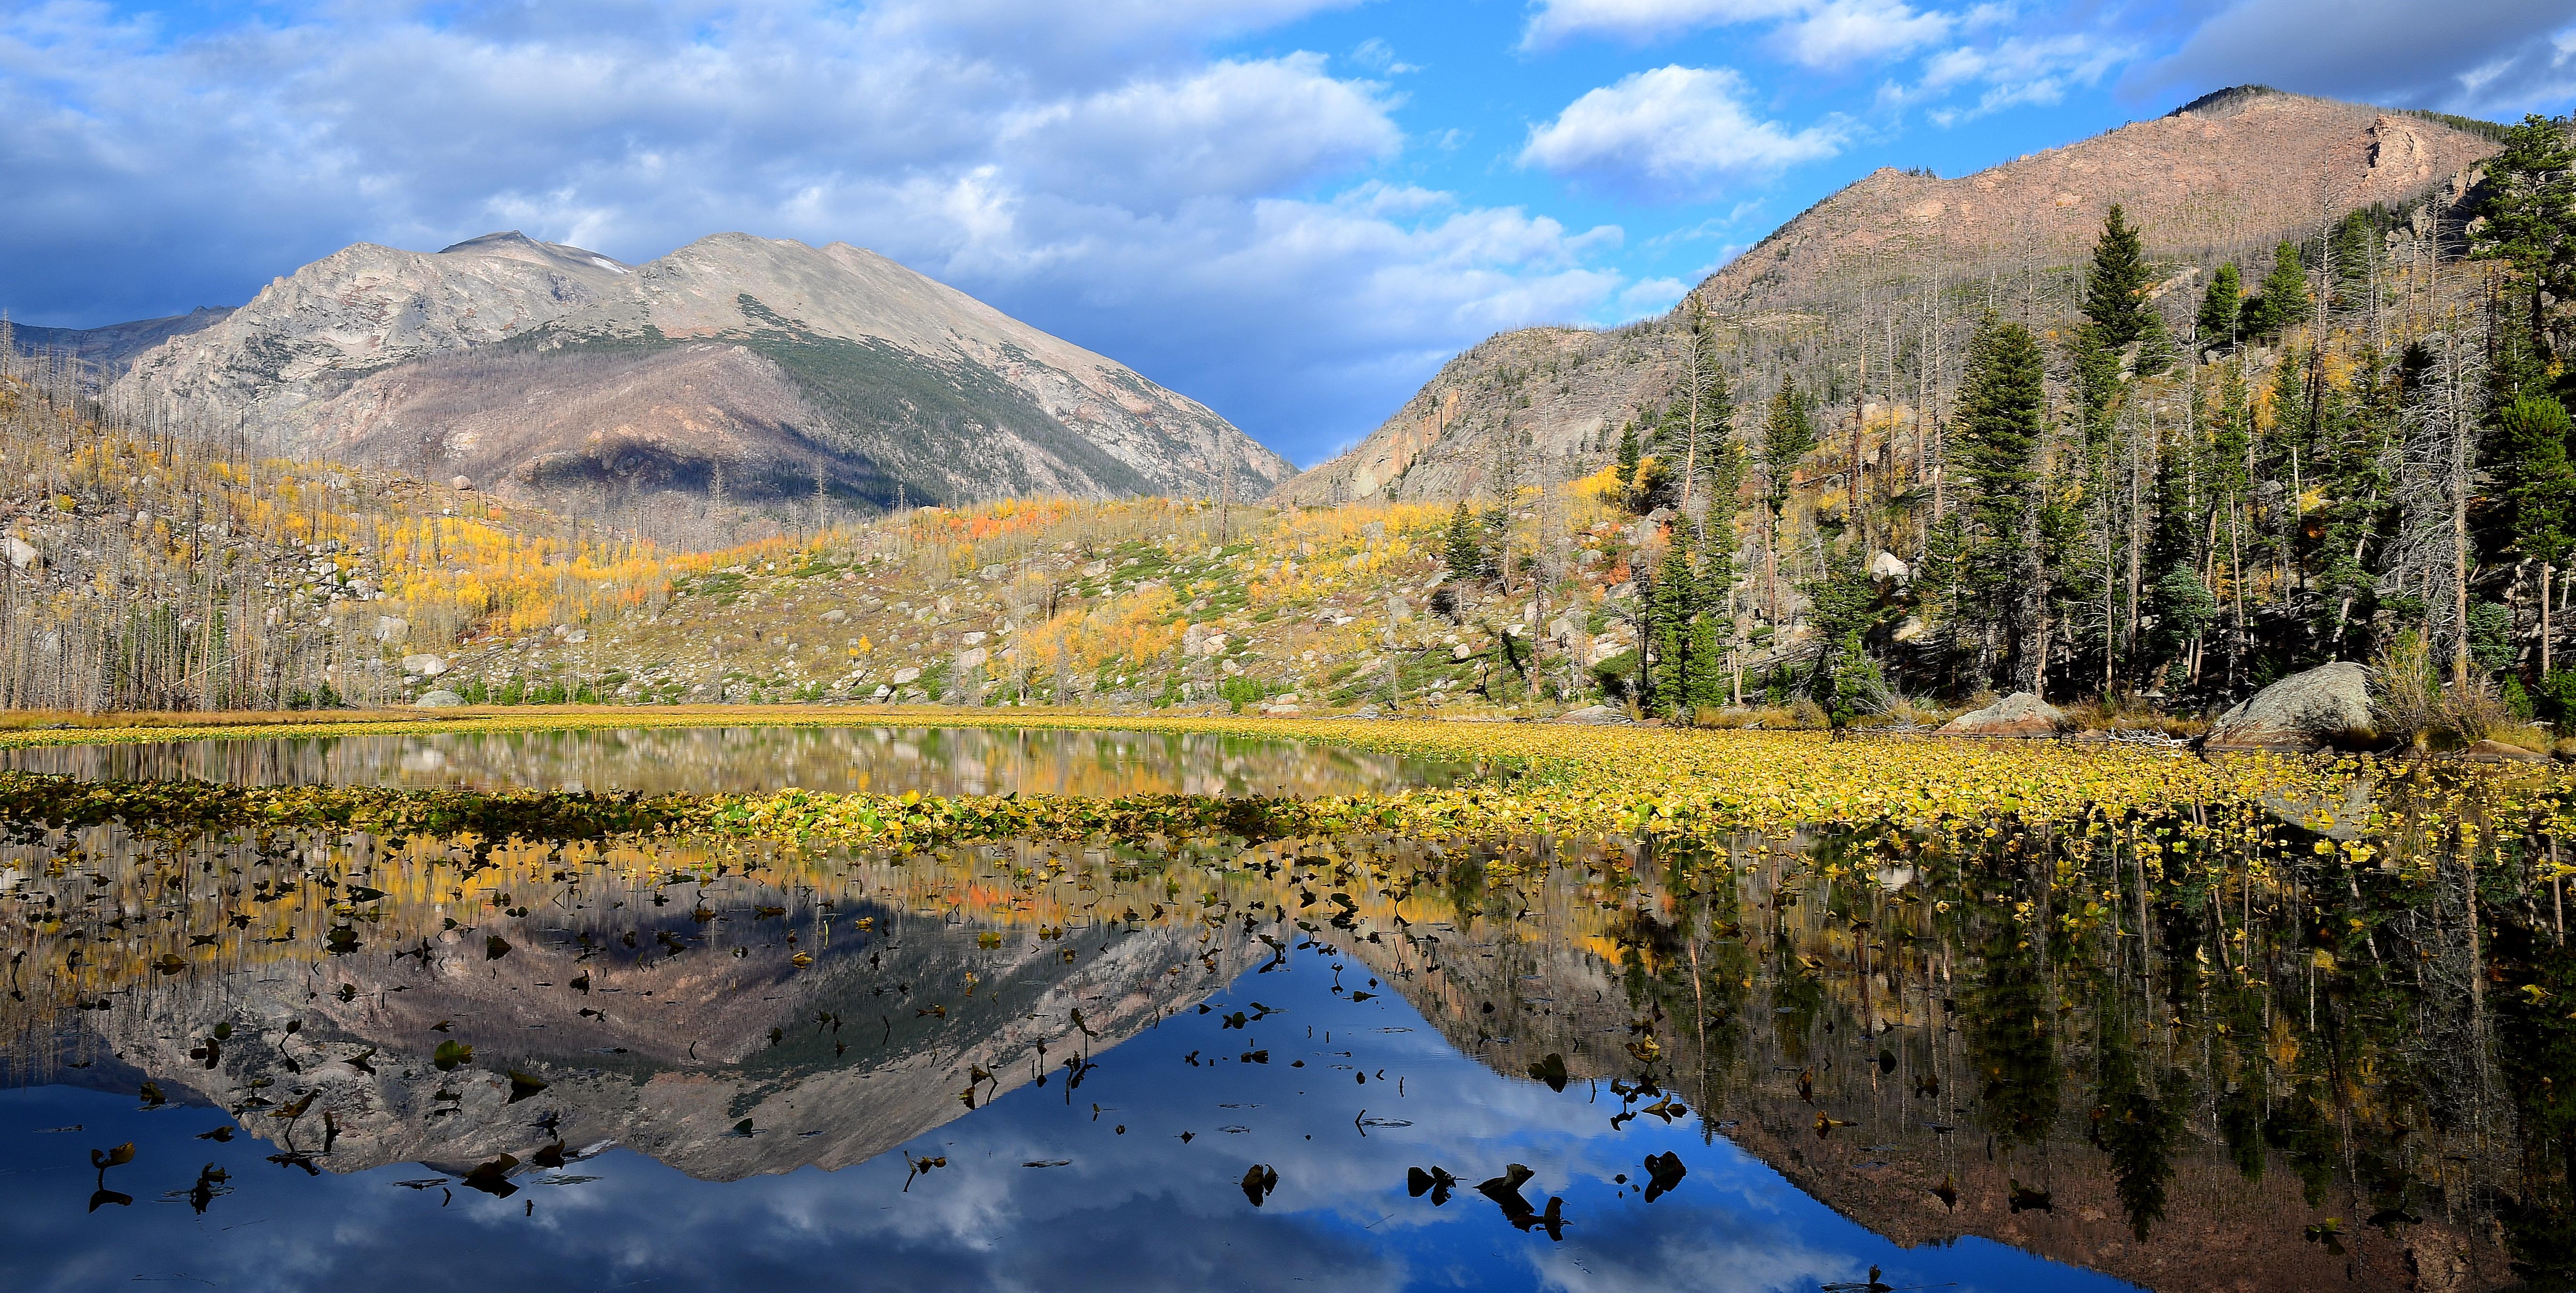
Building a trip around the scenery generally, with wildlife as a possible highlight rather than the entire point, tends to produce a more satisfying visit regardless of what animals happen to show up.
A Quick Safety and Gear Checklist
- Check the specific distance rules for the park you're visiting before arrival
- Carry at least a 300mm-equivalent lens for safe-distance shots
- Use binoculars or a spotting scope to observe without approaching
- Plan around dawn and dusk for the best chance of activity
- Never approach, feed, or attempt to attract an animal for a photo
Frequently Asked Questions
How far away should I stay from wildlife in a national park?
Specific distances vary by species and by park — checking the current posted guidelines for the exact park being visited is the only reliable answer.
What lens length is actually needed for safe wildlife photography?
300mm is a reasonable starting point for most mid-to-large mammals; smaller or more distant subjects benefit from even more reach.
What time of day gives the best chance of wildlife sightings?
Dawn and dusk tend to be the most active windows for many large mammals, and also offer better light for photography.
Is it ever okay to approach an animal for a better photo?
No — approaching risks both safety and the animal's wellbeing, and rarely produces a better result than waiting patiently from a safe distance.